Ron Stultz
“Home Electrical Wiring - Circuit Breaker Labeling - A Better Way”
Background:
Have never seen a home circuit breaker panel labeling that was 100% accurate.
Have even seen where 2 circuit breaker panels and one cross-wired to the other such that you could shut off the main breaker to the whole panel and still have voltage and killer current on circuits!
If you are going to do any kind of electrical service (outlet or switch replace or work on an oven, dishwasher, etc) never trust circuit breaker panel labeling. Always test for voltage right at the outlet, switch or hardwired device.
Home electrical wiring does not have to be complex. When a house is wired, electrician could have run a dedicated circuit for each room's outlets and another for each room's lighting and in some cases you will find this but not many. Often switches or outlets in one room will be on multiple different separate circuit breaker panel breakers.
A better way to label circuit breaker panel breakers:
Make large number labels for each circuit breaker panel breaker. Yes numbers are stamped into the metal of the circuit breaker panel but difficult to see in dim light and most are turned sideways!
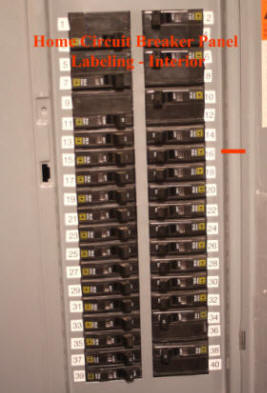
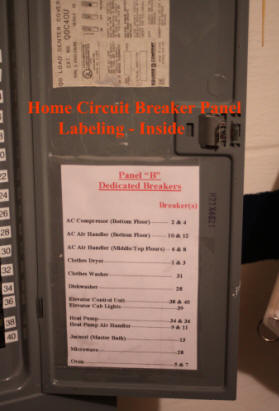
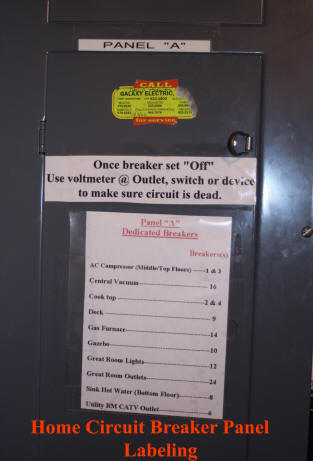
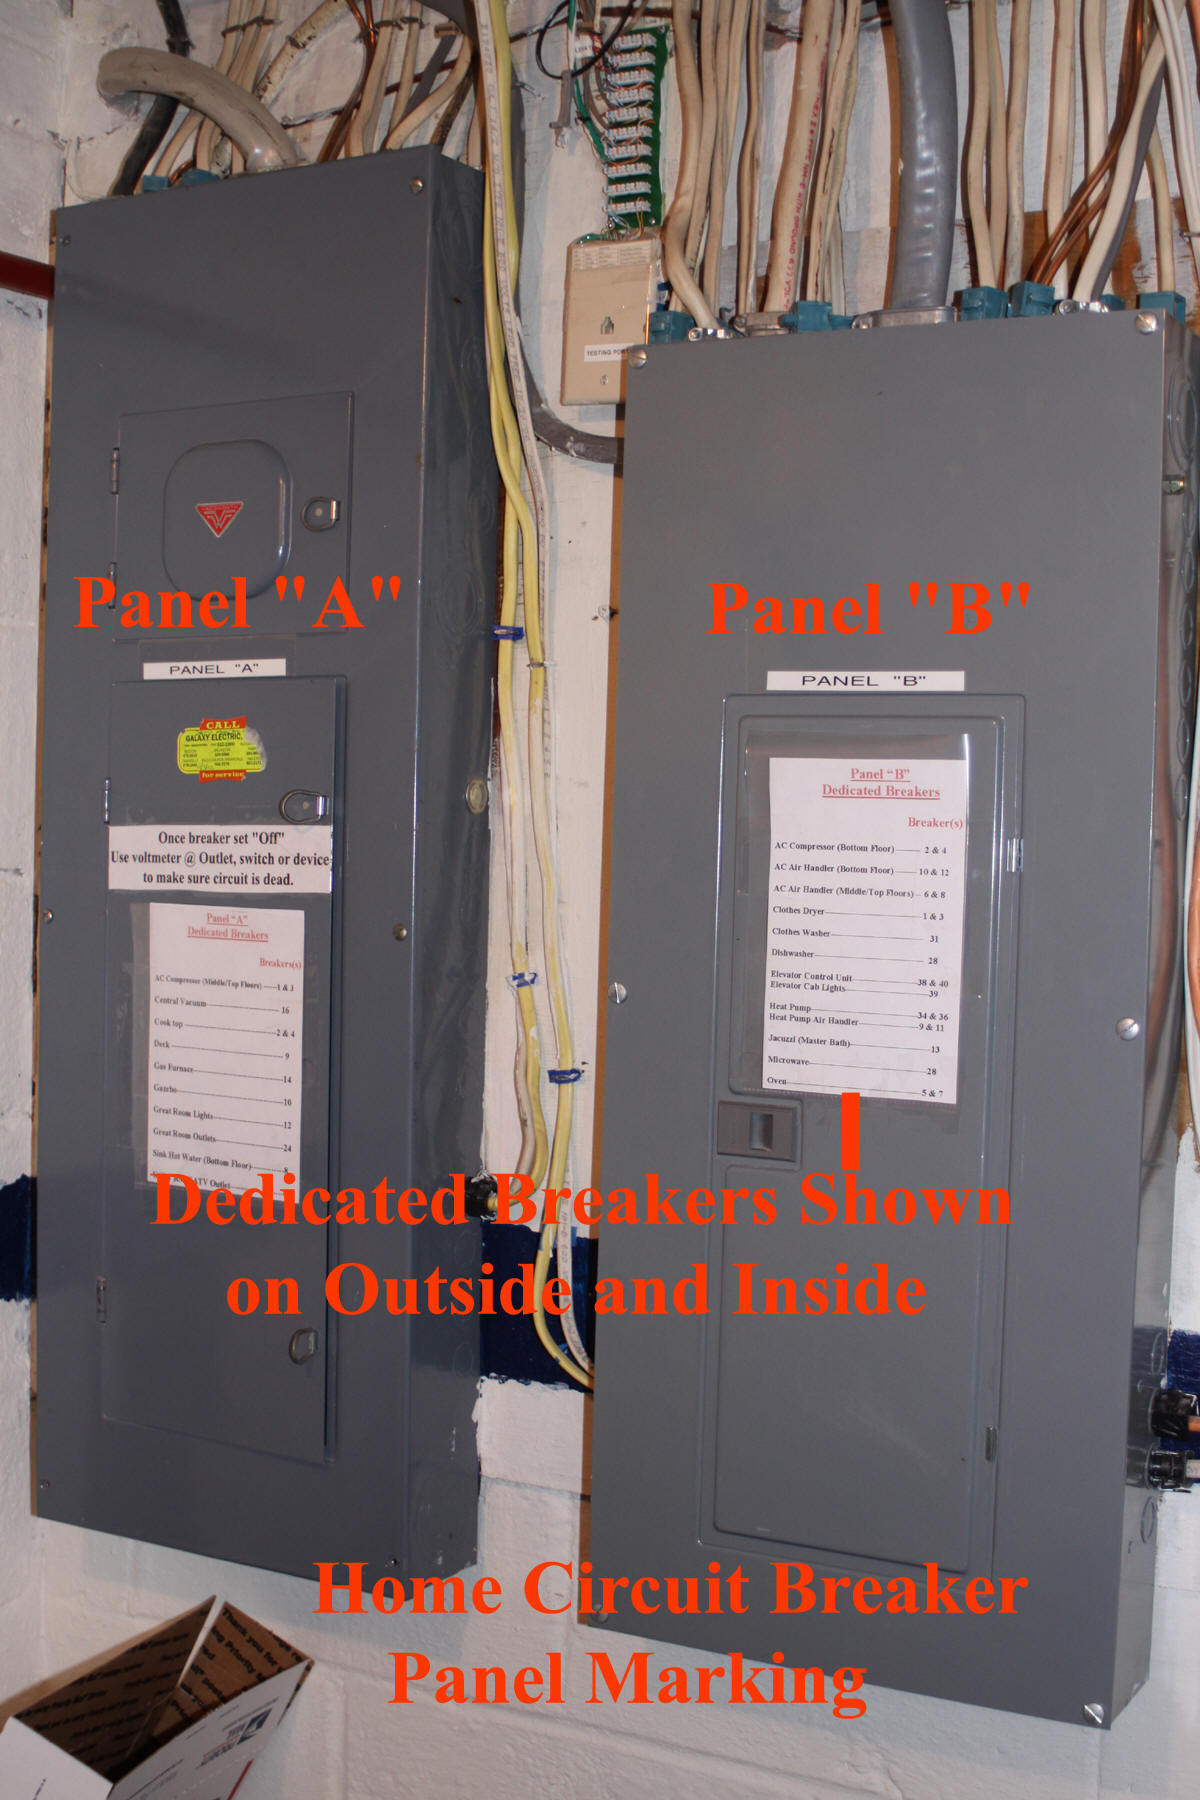
Using the current circuit breaker panel label, create your own sheet defined dedicated circuits. A dedicated circuit is one for: oven, AC, dishwasher, etc. Of course confirm that the circuit breaker label for these devices is correct.
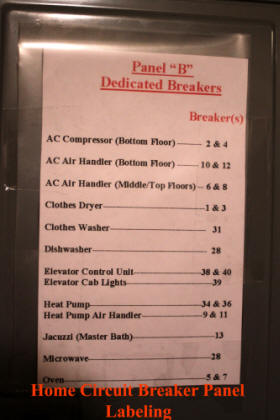
Now create a floor plan drawing for each floor of your home. Make 2 copies of each.
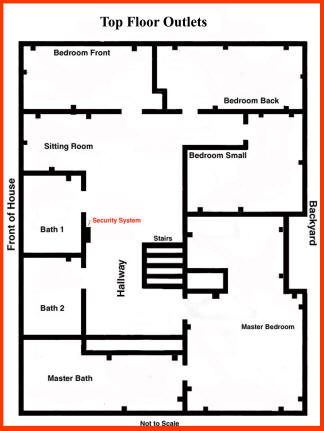
Using one floor plan drawing, locate each outlet and draw it on your floor plan map. This will be your outlet map.
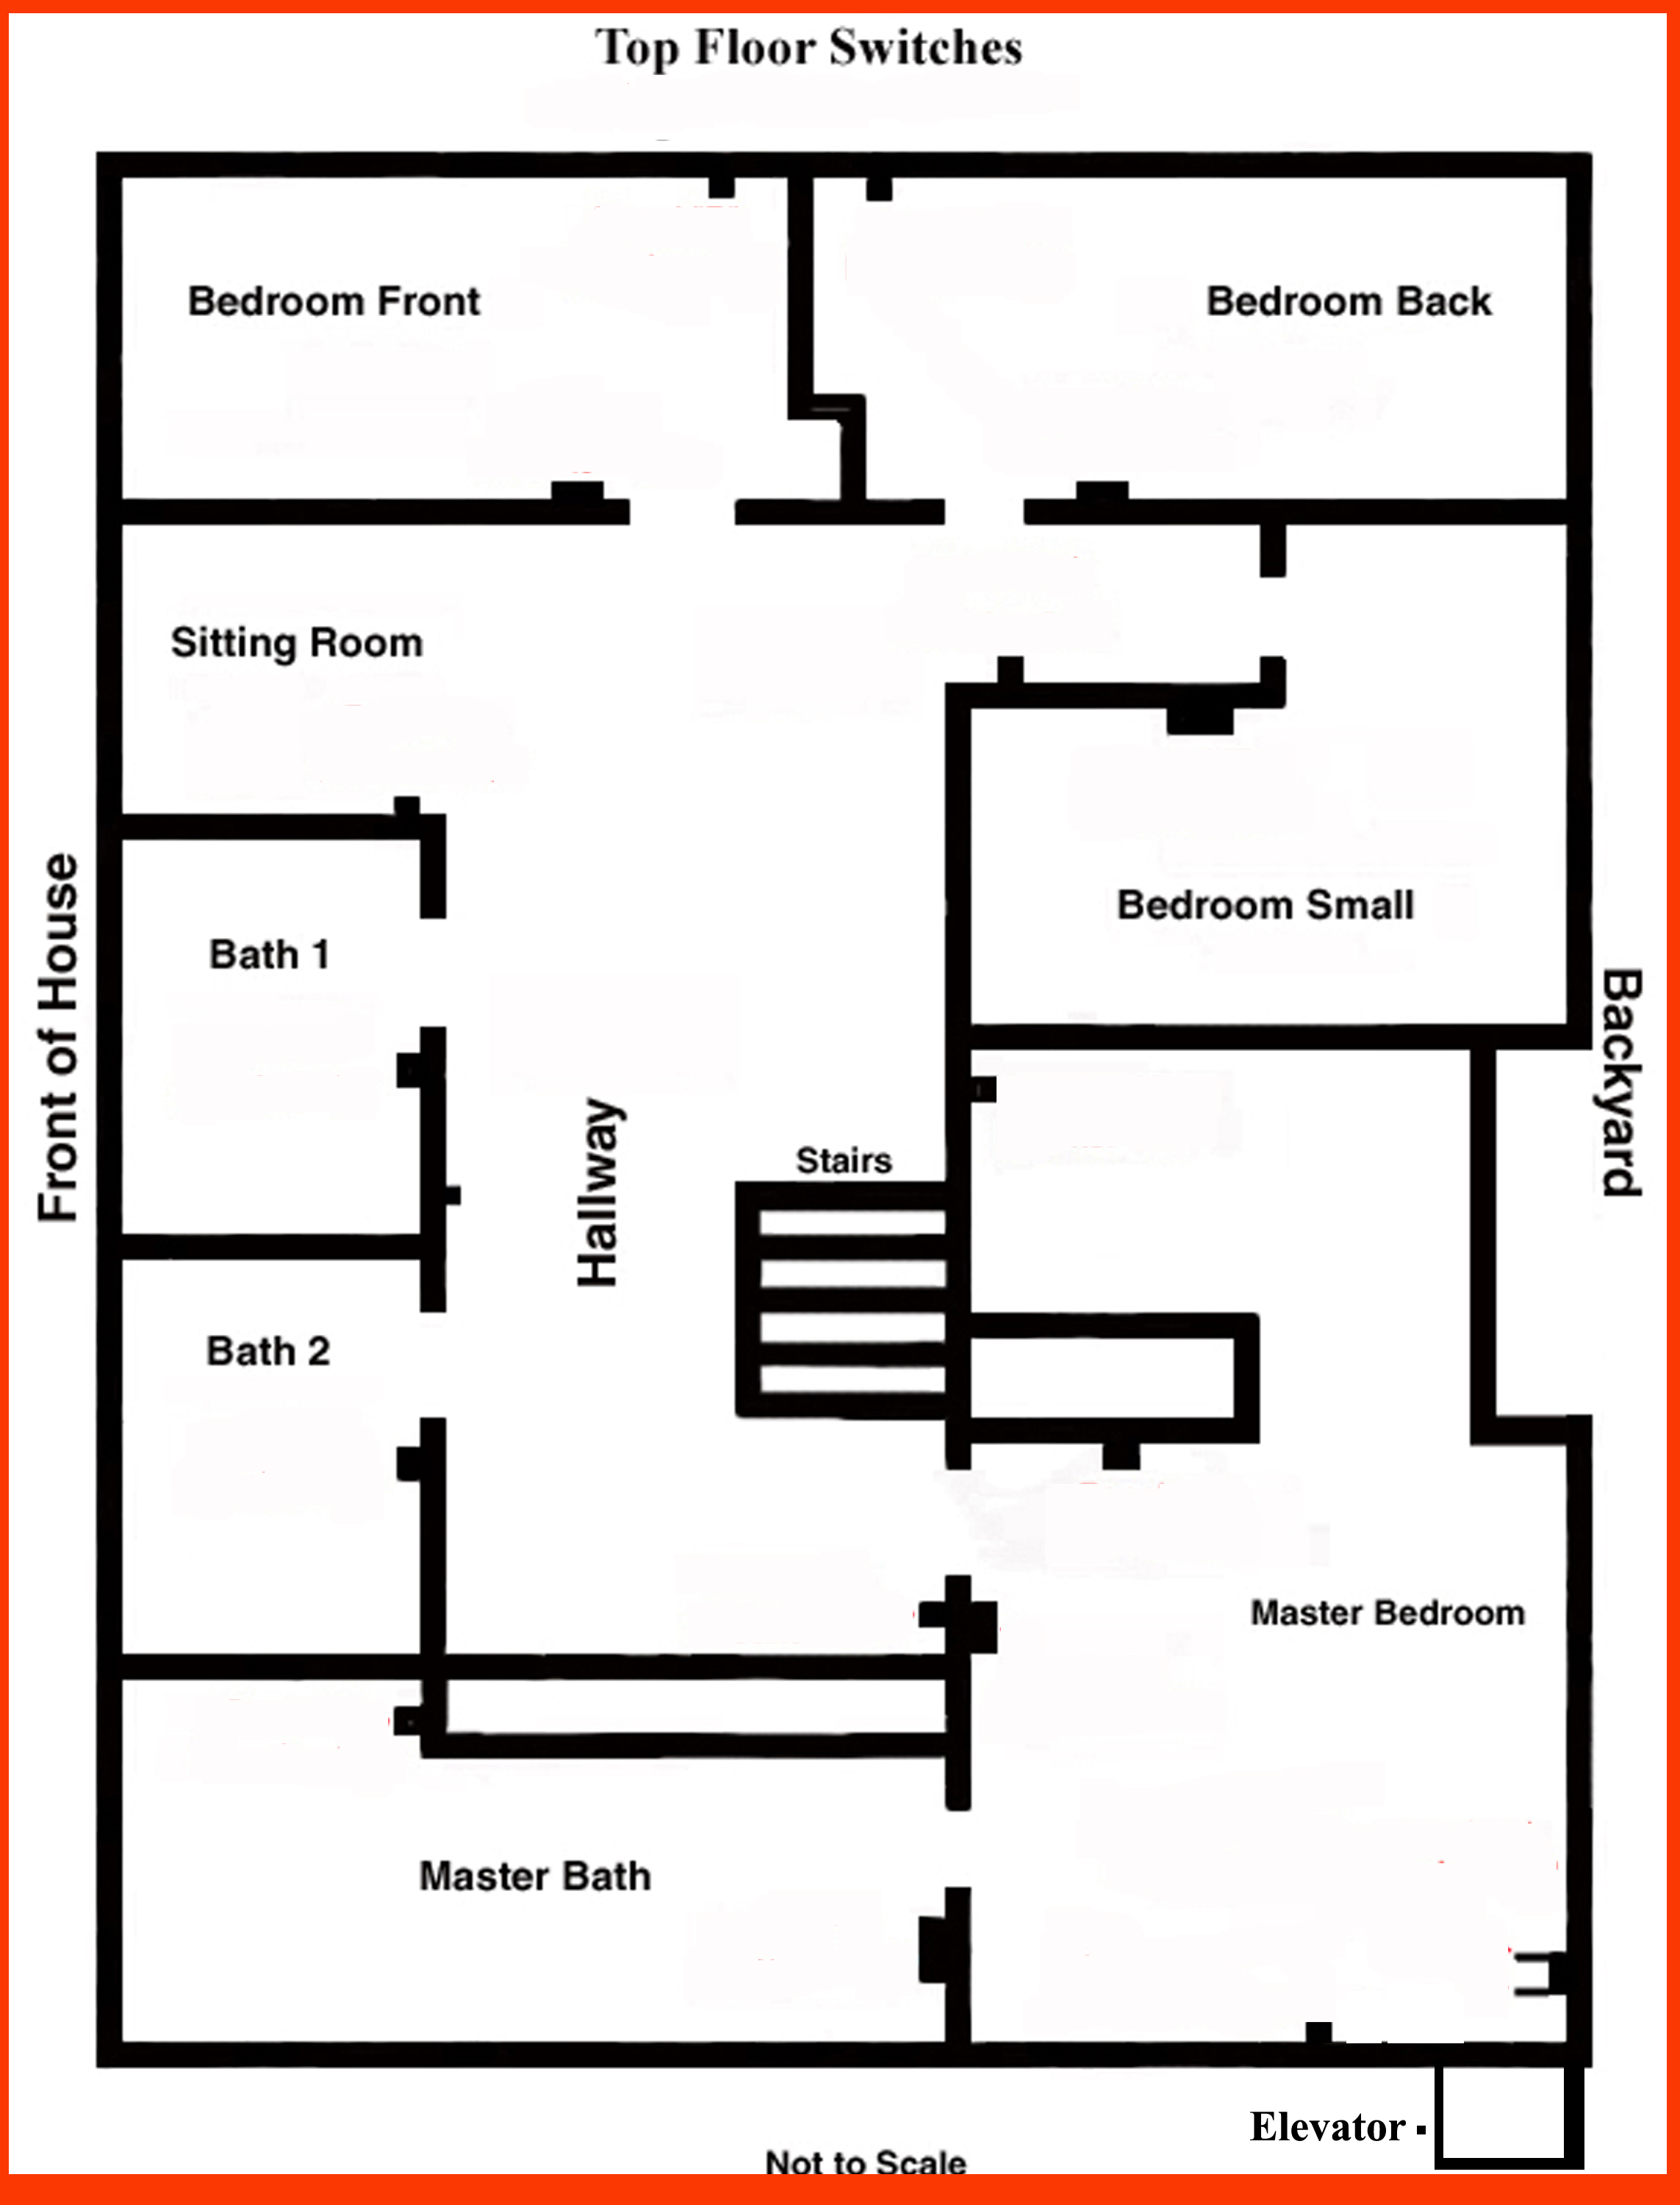
Using one floor plan drawing, locate each wall switch and draw it on your floor plan map. This will be your switch map
Repeat above for each floor of your home.
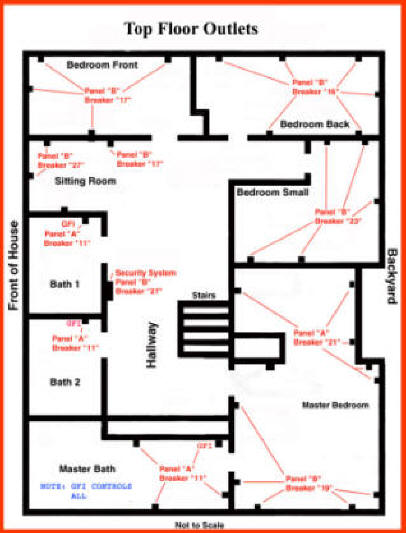
Now best to have 2 people. With one at the circuit breaker panel, locate the breaker that controls each outlet in a room of our outlet floor plan and label it on your drawing. Once a floor is completely done, move on to your switch floor plan map. You can buy a simple outlet plug-in device that will show if an outlet has voltage or not.
Again, using 2 people, identify the circuit breaker associated with each switch in a room and mark it on your switch floor plan map.
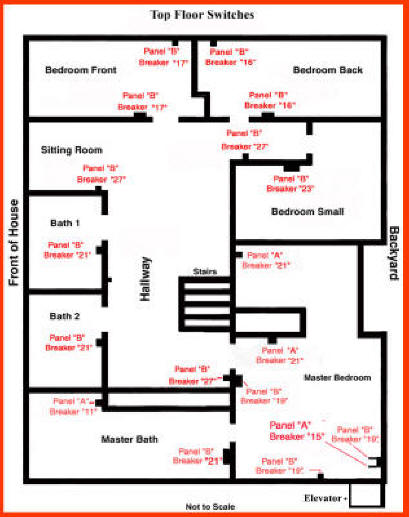
Repeat for each floor of your home.
Now remove the old circuit breaker panel label on the inside door of the circuit breaker panel and replace with your "dedicated breaker" list. I also attach the same list to the outside of the panel.
Now all floor plan maps (outlets and switches), enclose in a plastic cover of some kind and place by your circuit breaker panel. I bundle all outlet floor plan maps together and all wall switch maps in another bundle.
If you have a deck or garage or other outside, create outlet and switch maps for all.
If you know there is underground cable run anywhere outside your house, make a map for that as well.