Ron Stultz
“AT&T Home Security System - Changing The House Security Code”
Summary: the house code (arm/disarm) 3 digit code is defined in all wireless keypads via 3 wires pushed down over circuit board pins. Changing the house code is nothing more than moving 3 wires and is certainly do-it-yourself (DIY).
Background:
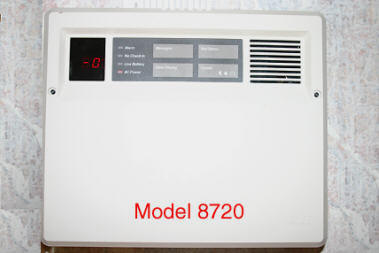
AT&T model 8720 central controller-based (CC) home security system.
Model 8440 wireless keypad.
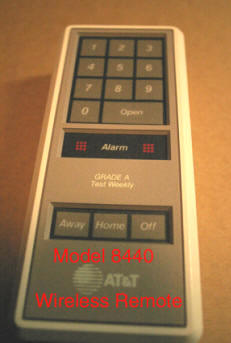
The house code (arm/disarm) 3 digit code is not stored in the CC but in each wireless keypad.
There can be only one house code per installed system.
Each installed wireless keypad must have the same house code.
The 3 digit house code can not have any repeating numbers such as 000, 999, 112, etc.
Inside the 8440 wireless keypad is 3 color-coded wires (blue, white and yellow) that can be moved among 10 pins sticking out of the circuit board.
Marked clearly on the board, the pins are numbered 0 through 9.
The house code pins and wires are located on the edge of the circuit board at the battery compartment end of the wireless keypad.
How to change the house code:
Go to central controller and loosen 2 screws holding the front cover onto the wall mounted chassis (small flat blade screwdriver).
Unhook red wire on battery terminal.
Unhook CC power adapter from wall outlet (may require loosening or removing screw holding adapter to outlet - Phillips screwdriver).
CC should now be completely dead.
Go to first 8440 wireless keypad and if attached to wall near a door, open and making note of how magnetic reed switch wires are connected to base plate connectors, remove keypad by loosening black red and green wires.
Now looking for blue, white and yellow wires.
Blue, white and yellow wires all have connectors on them that allow a wire to be pushed down over a pin sticking out of the circuit board.
Pull the blue, white and yellow wires off circuit board pins.
Now looking at the circuit board notice how the pins are numbered 0 through 9.
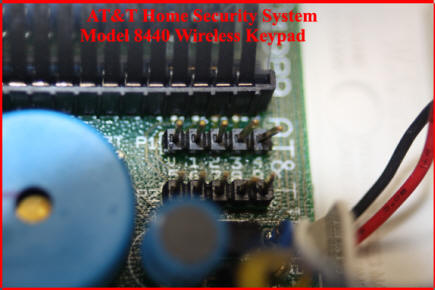
To define the first digit of a new house code, take the blue wire and push it down over the corresponding pin.
For example, if you want the first digit of your new house code to be a 0, push the blue wire connector down over the pin marked 0.
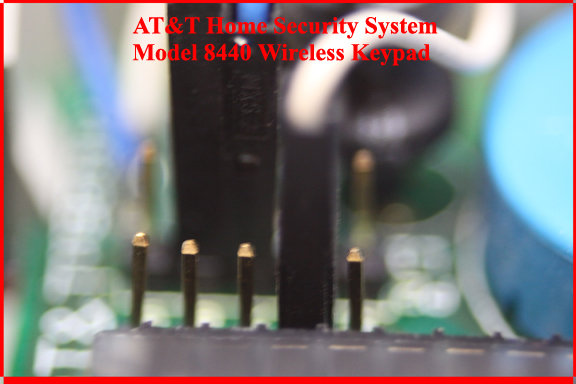
To define the second digit of your new house code, push the white wire down over the corresponding circuit board pin.
For example, if you want the second digit of your new house code to be 9, push the connector of the white wire down over the pin marked 9.
Finally, push the connector of the yellow wire down on the last digit number pin on the circuit board.
For example, if you want the third digit to be 7, push the connector of the yellow wire down over the 7 pin.
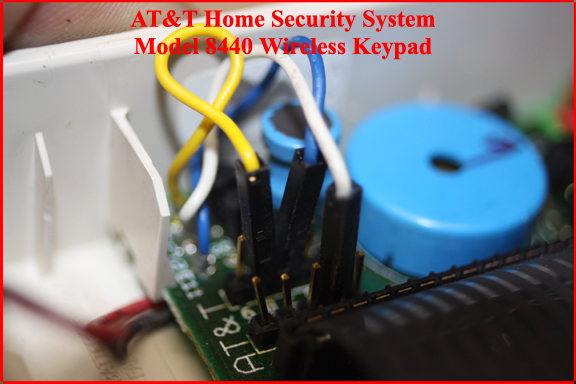
Now check your work. Are the blue, white and yellow wires over the correct house code pins?
If the code is defined as you want it, take the wireless keypad back to the location you removed it from and reattach the red, green and black wires to the base plate. The base plate is marked as to where each color wire is to be connected.
Snap the wireless keypad into place over the base plate.
Now repeat above for all the wireless keypads you have in your system.
Once you have set a new house code in all wireless keypads, go to your CC and reconnect the red wire to the battery.
Place the front cover back onto the CC chassis and tighten the 2 screws.
Plug the CC power adapter back into its wall outlet and tighten the screw that holds the adapter firmly to the outlet.
Once the CC is fully powered, press the DEMO/TEST button and then push and hold all buttons on the CC.
Now at a wireless keypad, enter your new house code and press "Home" and you should hear the CC beep that it recognized the new house code.
Because you unhooked the CC's internal battery and unhooked the CC from house power, the CC might try to report a trouble alarm to a remote monitoring company. Be prepared to respond to a telephone call from your monitoring company.